The perfect soft pita bread is actually an entire meal. If made correctly, the pocket inside is like a world of options. Fill it up with anything you love, organize the order of elements correctly, and each bite is a little piece of heaven. Like with this amazing falafel recipe. There’s Hummus smeared inside, a couple of falafel balls, some salad, drips of preserved lemon, more falafel, parsley and lots of tahini all over the place. Each bite has the perfect combination of flavor, temperature and texture, you are the architect of your pita!
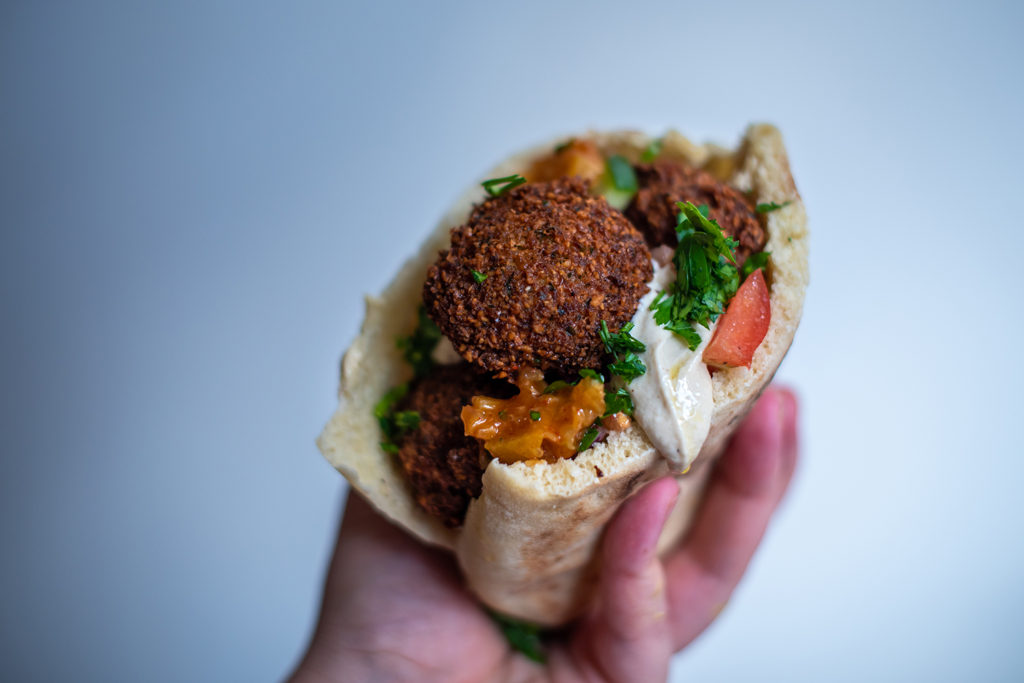
And yes, it may burst open a bit from the sides, but that’s totally up to you how much you stuff your pita. But the real beauty is that even with just a smear of Nutella, you are still a winner here.
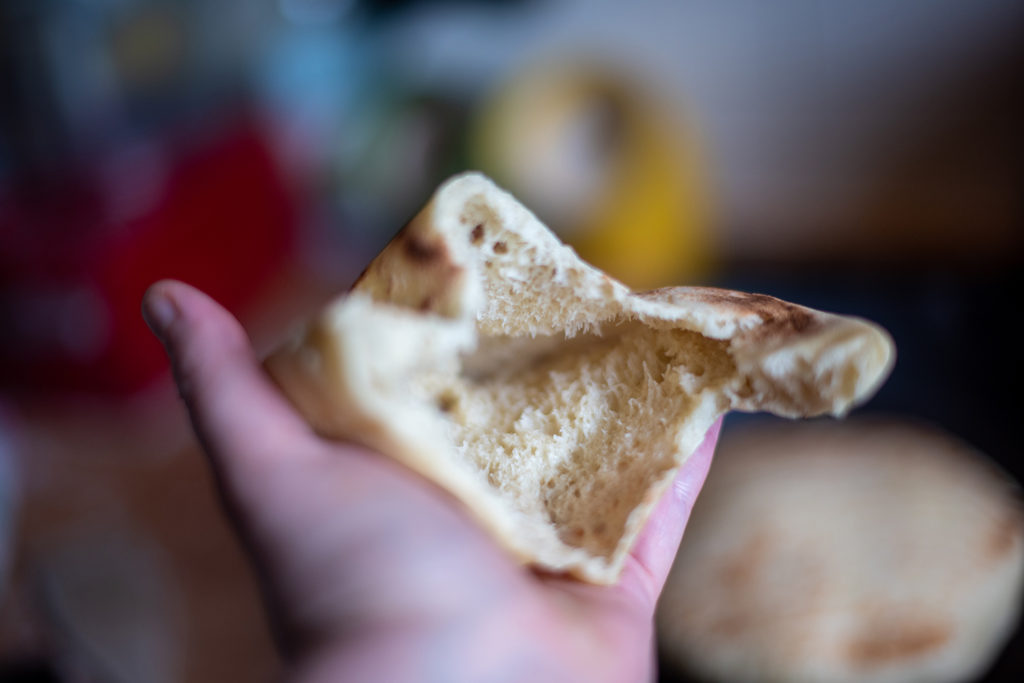
Let’s do this
The first step is getting your dough on the way. In your mixer, fitted with a hook attachment, add 1 heaped tablespoon of dry active yeast, to that add one cup of lukewarm water and 2 tablespoons of sugar. Mix it around for a bit so that the yeast can absorb the water
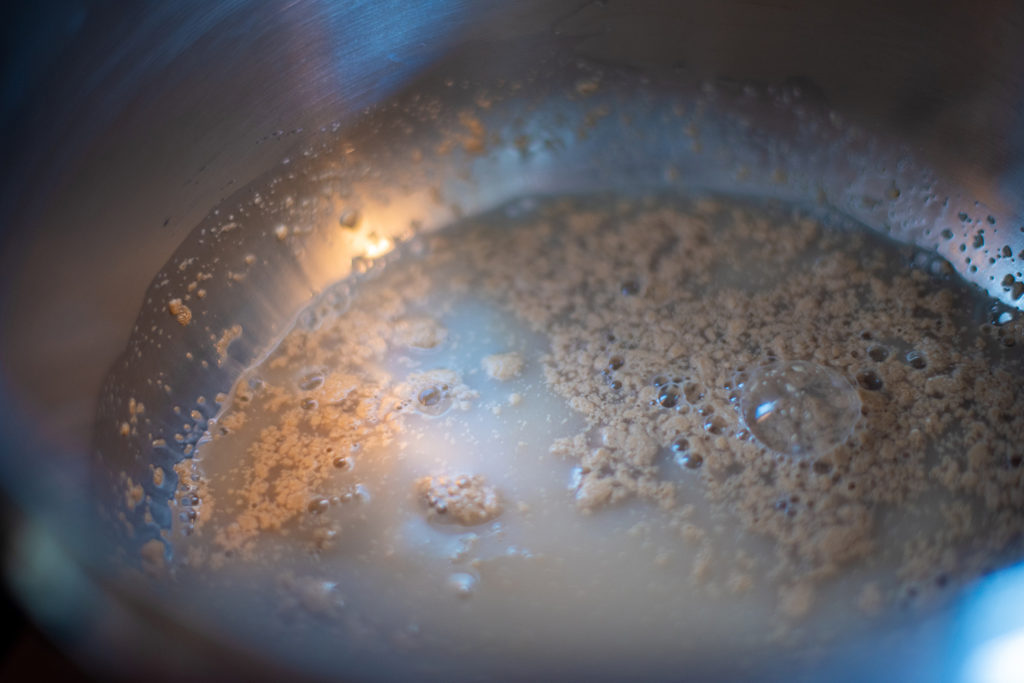
When it gets a bit bubbly and foamy, add 1 kg of flour and let the mixer work on low speed. Add one more cup of water, and a couple tablespoons of olive oil. When it all comes together, add about 1/2 tablespoon of salt.
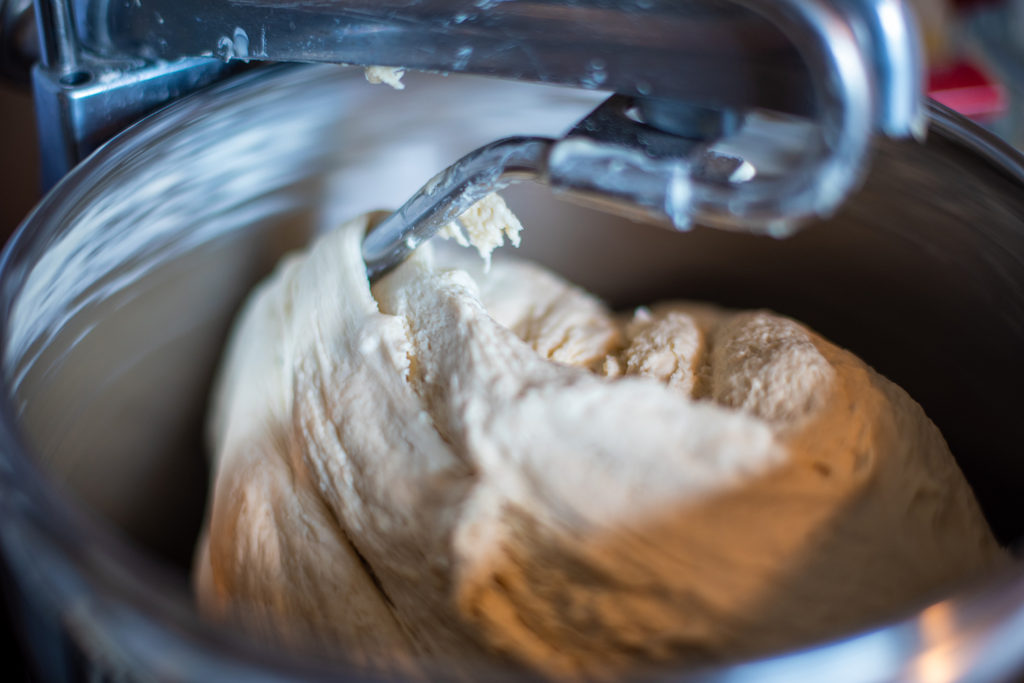
Keep that mixer going for about 10 minutes until you have a soft, elastic, and slightly sticky dough
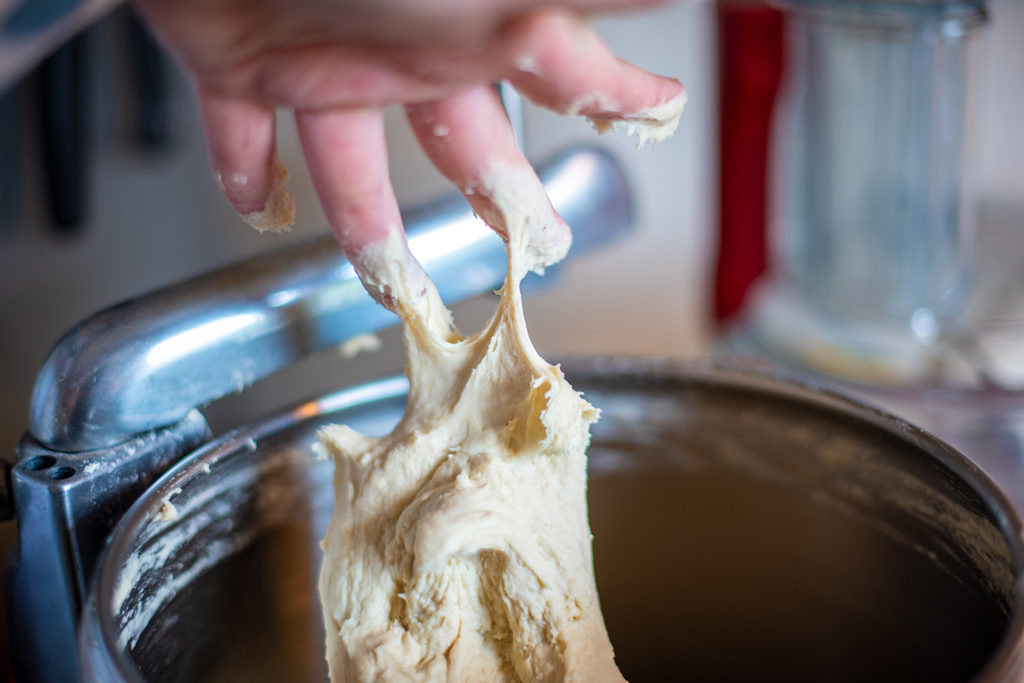
Cover, and let it rest 30 minutes while you get your pita proofing area arranged. If your house is quite cold, wait for an hour.
Proofing station
On your table or countertop spread a big clean towel, like the one you’d use after a shower. On that, arrange cut square pieces of baking paper that will fit your pita once rolled out, so about 14cmx14cm (5.5inchx5.5inch). You will need about 15, depending on the size of pitas you’re going for. Also get some kind of fabric to cover the pitas once they will be there. I like to use a proofing fabric/swaddle blanket (muslin)/tea towels, or the sort.
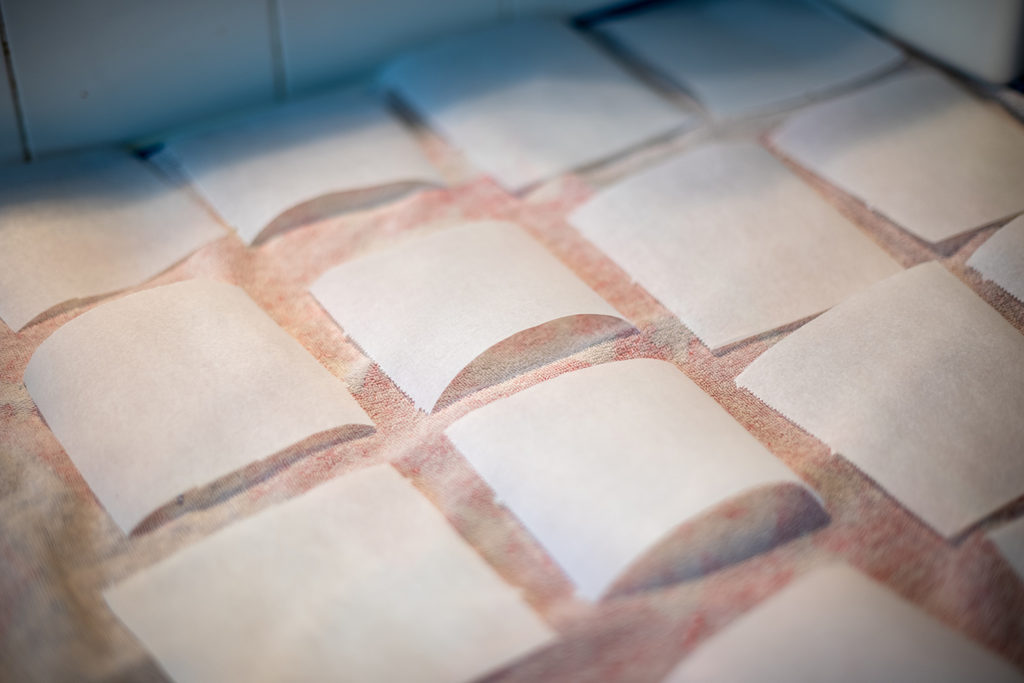
Dough time
Once we’re all set, let’s get to handling that beautiful soft dough. Punch it down a bit to take any air out. Flour your surface lightly, your rolling pin and your hands too. Then, just grab a bit of the dough and make a ball out of it, for big lush pita’s use about a tennis ball size quantity.
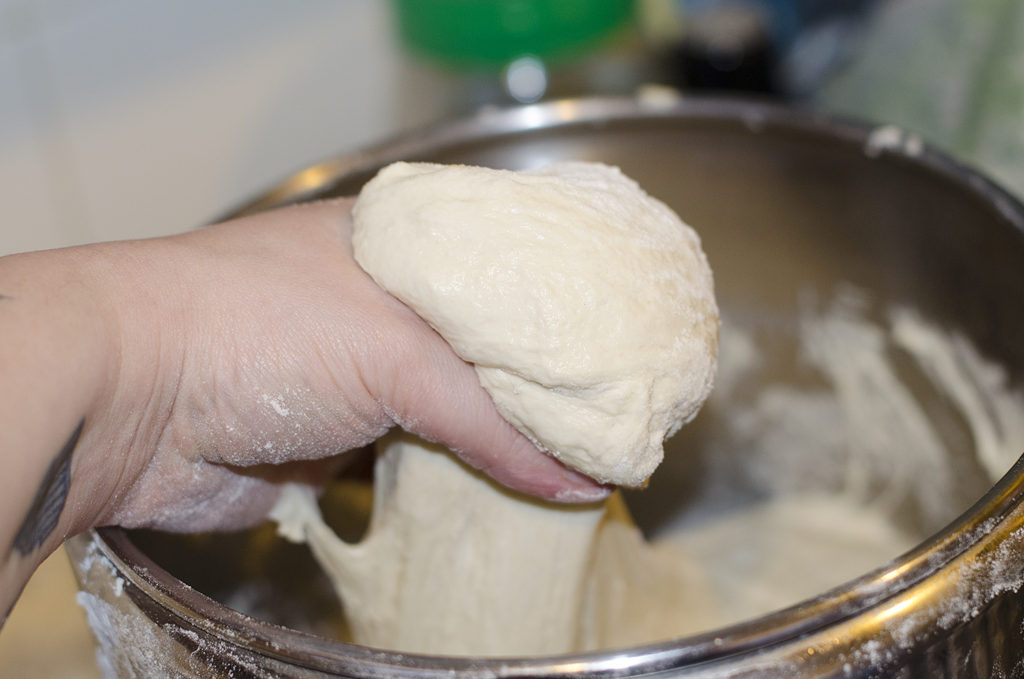
Form it into a ball
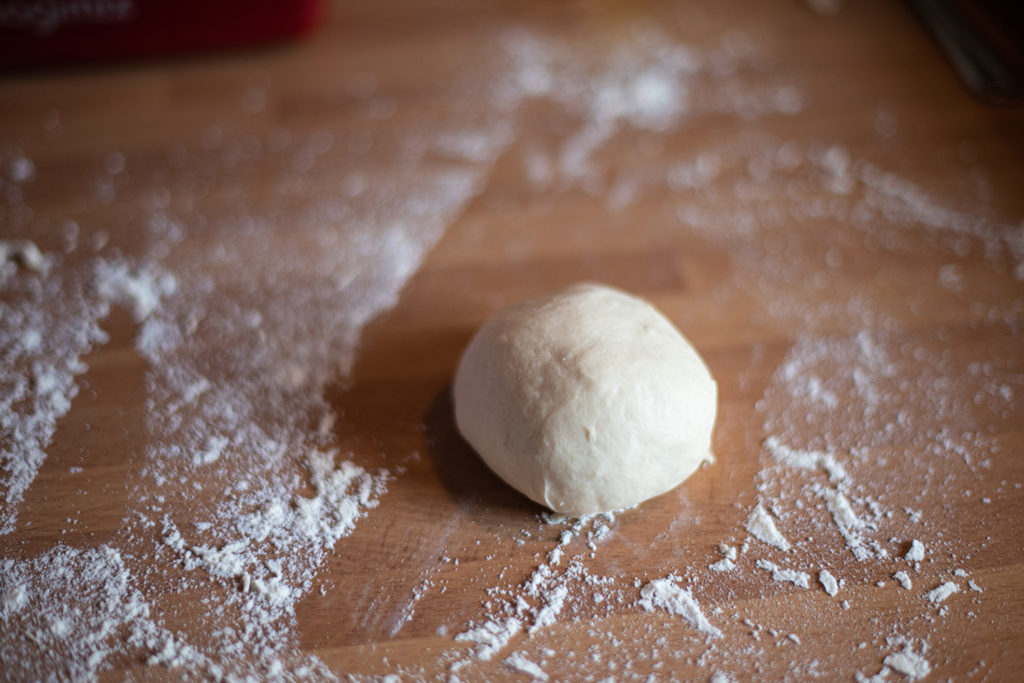
and using the palm of your hand flatten it out slightly
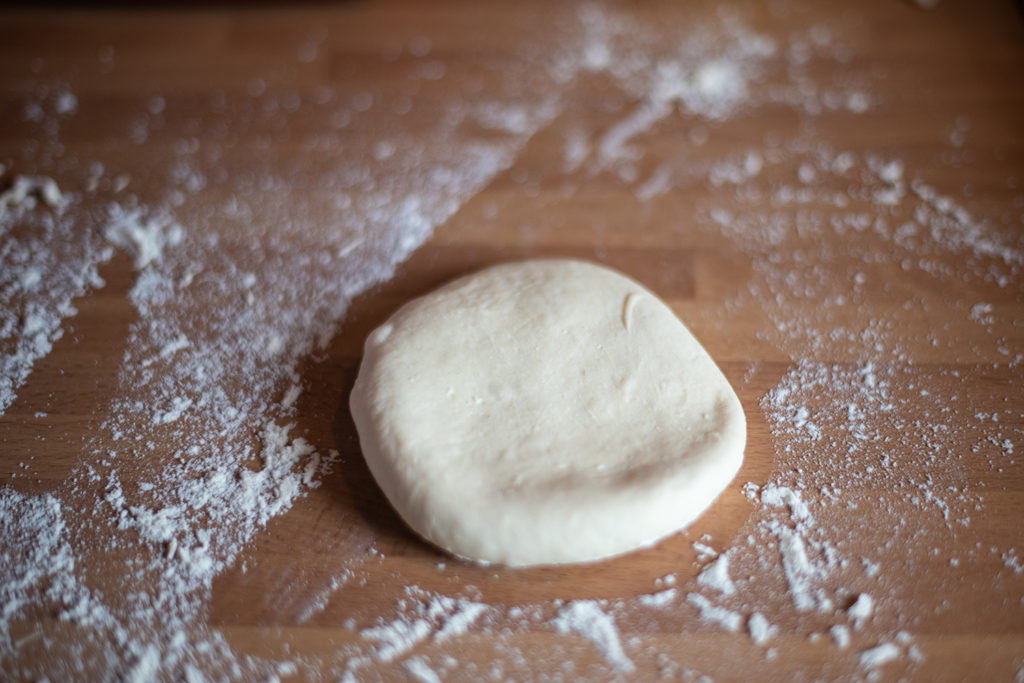
Use your rolling pin to roll it out, try to keep it in a round shape, and make sure both sides are lightly floured to prevent sticking. It should be a little over 1/2 cm thick, up to 1 cm, not thicker (1/4 inch is perfect to my taste)
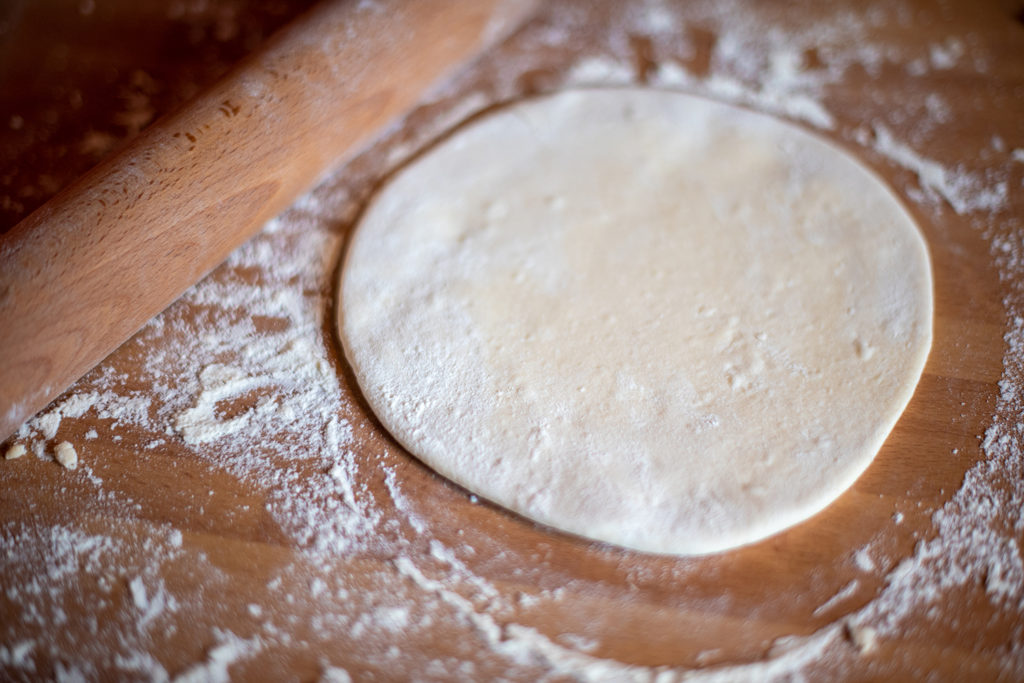
When it looks good, wipe the excess flour off from both sides and place it on one of your fancy baking paper squares. Use your fingers to flatten it down just a bit on the paper. Then cover.
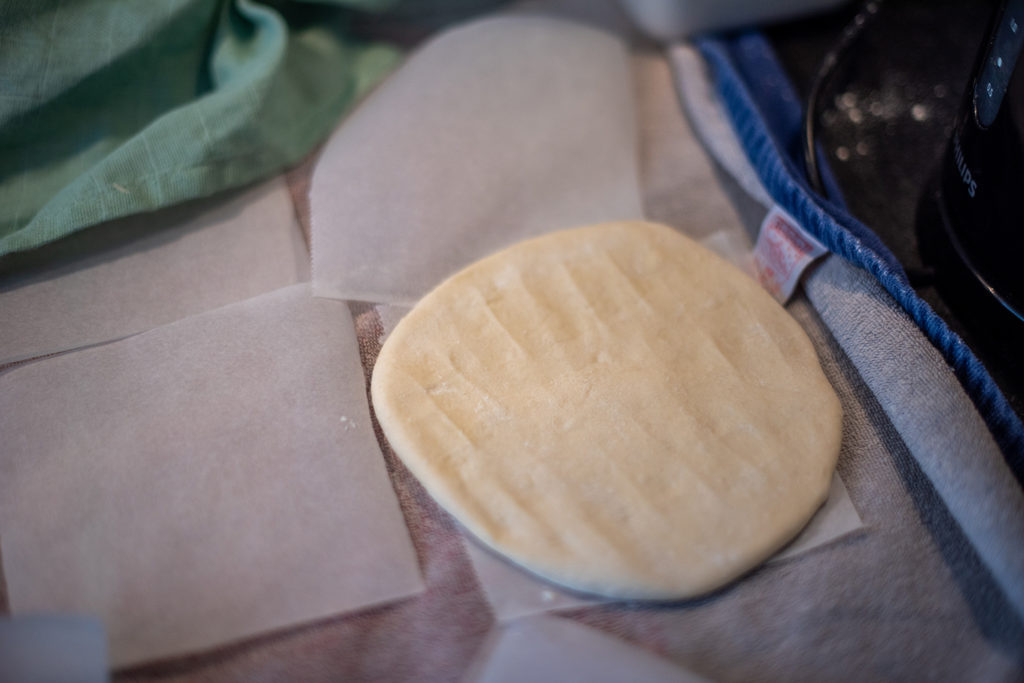
Repeat, repeat, repeat until all your pitas are ready. Make sure you cover all those good-looking pitas so they won’t dry up. Let them proof for 30 minutes)
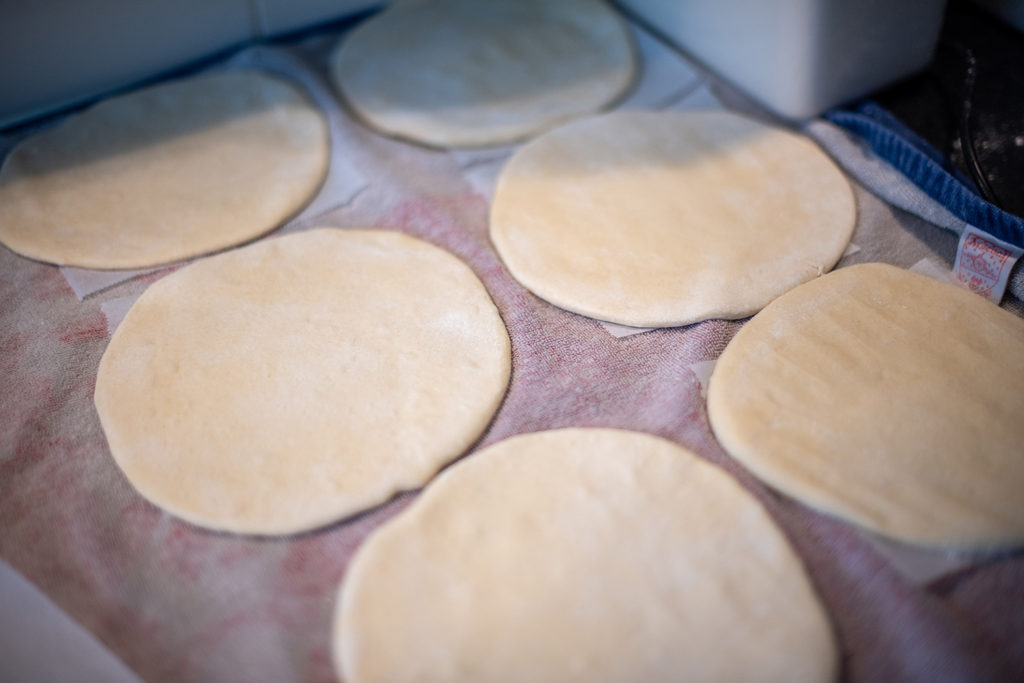
Once you’re done with all that, also take a box or a big pot or an empty carton box or something that can hold all your pita’s and line it with a couple of thick towels. I can’t tell you why yet, it’s a surprise.
Heat it up
You can do the next step in a very hot oven with the upper grill setting or on a very warm pan, I like the pan way better, but you do you.
Get a pan, preferable cast iron but any pan will do, and get it very very hot, on highest setting. No oil, completely dry. When it’s hot, get the first pita you rolled out and place it straight on the pan (without the baking paper). Lower the heat slightly and as soon as you see any air bubbles forming in there, even very small ones, turn your pita to the other side. Give it a few more minutes, and when it starts to puff up from one of the sides, turn it again. Do this once or twice more until the pita start puffing up like a beautiful delicious balloon. Like so:
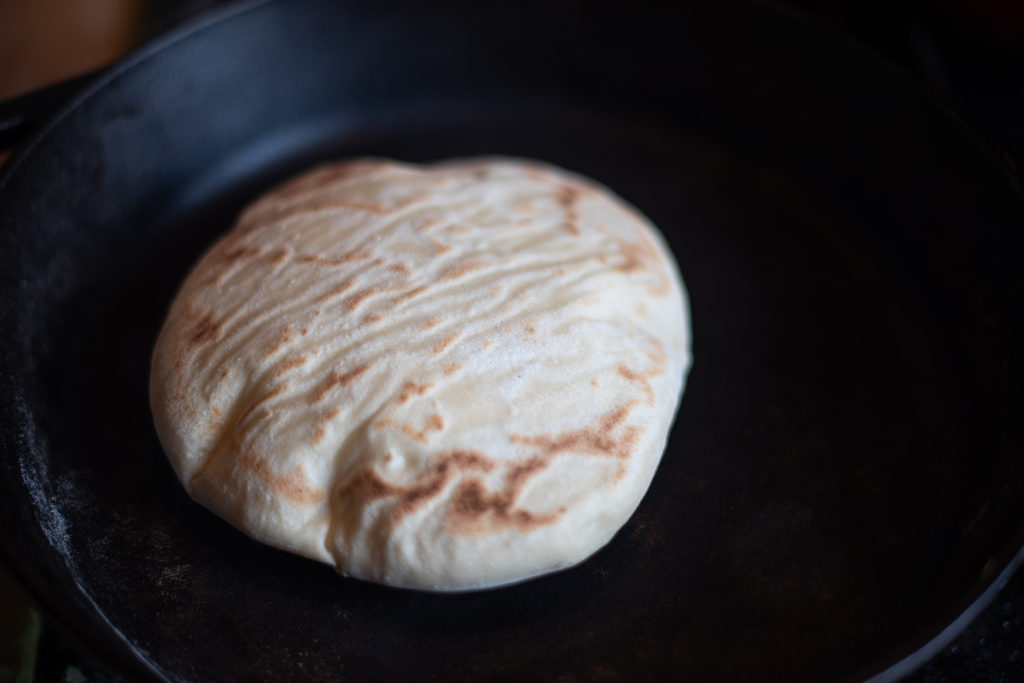
If you’re going the oven way, use the highest grill setting and place a baking tray in there to get it really hot (or stone). Once hot, carefully add one pita at a time (close to the upper heat source) and flip it as instructed above.
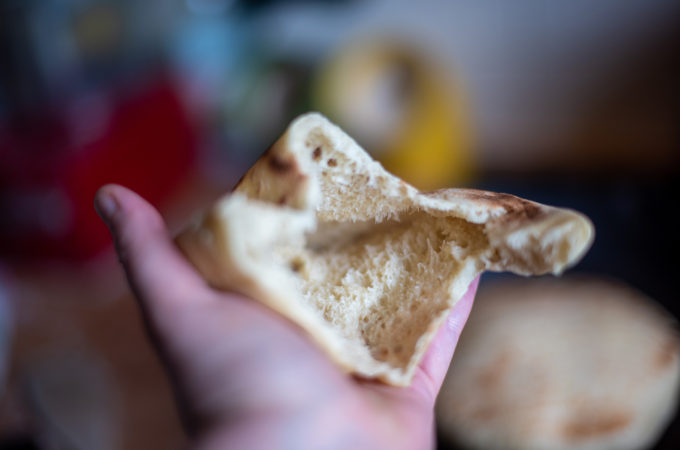
As soon as your pita is puffed up, it’s ready. Carefully transfer it into the box lined with towels, stack all pita’s inside and cover completely with the towels, allowing no steam to escape. This step is crucial for a soft fluffy pita! I make sure to even have another towel on top, so whatever happens on the world, my newborn baby pitas are happy, soft and warm inside.
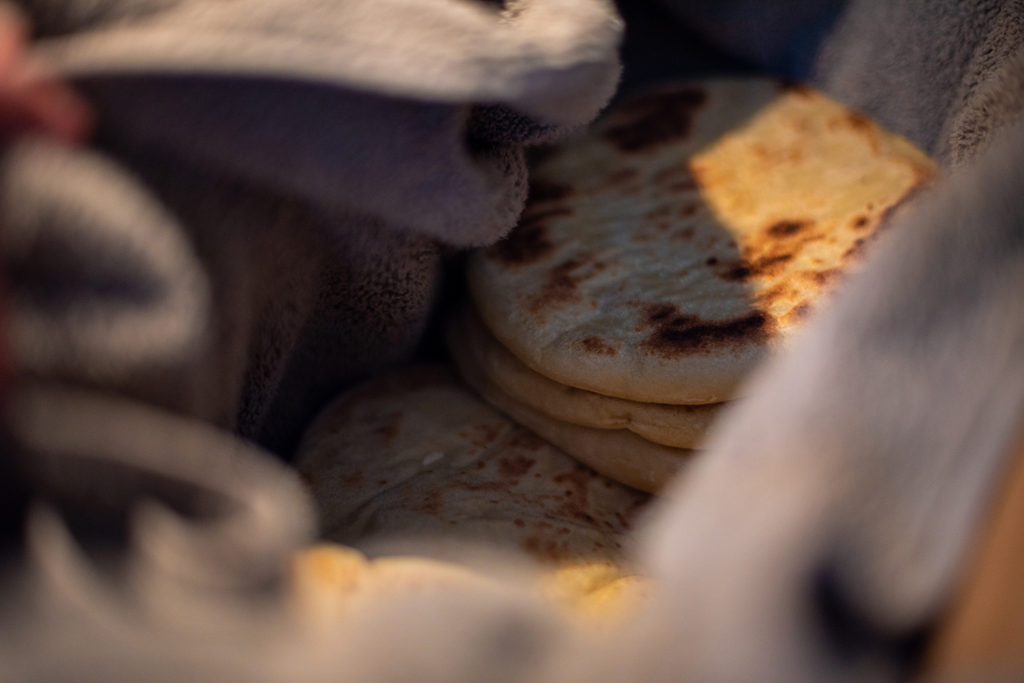
Guess what? You’re done! Eat those pita’s straight from your weird looking towel box, don’t even peak inside until you’re ready to eat them. I’lll know if you did.
They actually keep nice and warm for a couple hours like this. You can also add a few into a ziplock bag while still warm and straight into the freezer, they are perfect after thawing.
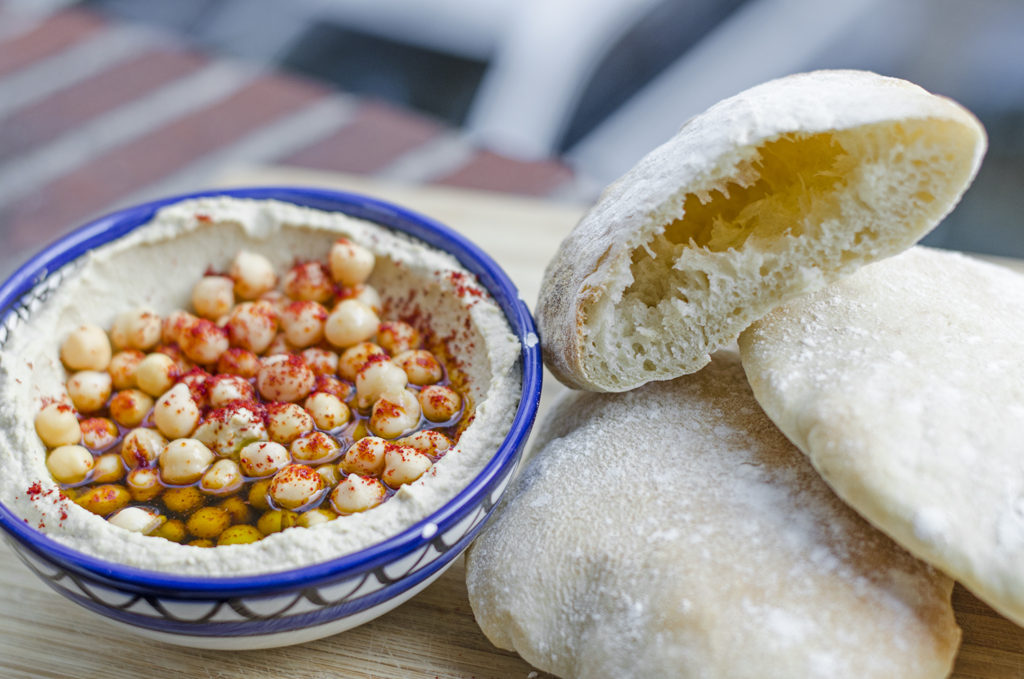
Enjoy you pita master! Oh and if you end up making this, please take a picture and tag me on Instagram @kerenruben or Facebook Keren’s Kitchen I’d love to see and hear how you liked it!
Ingredients
- 2-3 Cups Lukewarm Water
- 2 Tbps (23 grams) Sugar
- 1 Tbsp (10 grams) Instant Dry Yeast
- 1 Kg (2.2lbs) Strong bread flour or all purpose
- 3 Tbps olive oil
- 1/2 Tbsp salt
Instructions
- In the bowl of a stand mixer add the sugar, yeast and one cup of water. Mix a bit so the yeast is loose in the water and let it sit for about 5-10 minutes until foamy.
- Add the four and using the hook attachment start mixing in the flour on slow setting
- Add another cup of water and the olive oil, when it starts to form together, add the salt
- If the dough is still dry, slowly add a bit more water, a couple tablespoons at a time, until the dough is soft, springy, glossy and elastic. I normally need about 1/4 cup more, but it depends on your flour.
- After 10 minutes of kneading, cover the bowl with a damp towel and prepare your proofing area and pita warm box
- On your counter spread a thick towel and arrange squares of cut baking paper the size of your desired pita’s, mine are about 14cmx14cm (5.5inchx5.5inch), You will need about 15, depending on the size of pitas you’re going for. Also get some kind of fabric to cover the pitas while they’ll be proofing. A swaddle blanket (muslin)/tea towels, or something similar. This is to prevent them from drying out on top.
- Also prepare a box or tray lined with a couple of thick towels, this box will hold all the warm prepared pita’s and will trap the moisture inside.
- Once your dough is ready, punch it down a bit to take any air out. Flour your surface lightly, your rolling pin and your hands. Then, grab a bit of the dough out of the bowl and make a ball out of it, for big pita’s use about a tennis ball size quantity, but you can also make them smaller.
- Using the palm of your hand flatten it out slightly and use your rolling pin to roll it out to about a little over 1/2 cm (1/4 inch) thick, up to 1 cm. Trying your best to keep the round shape.
- Wipe the excess flour off from both sides and place it on one of the baking papers squares, use your fingers to flatten it down a bit on the paper. Cover and continue with the rest. Let them proof for about 10-20 minutes until you roll out the rest.
- Heat up a skillet and get it very very hot, on highest setting. Don’t add any oil and make sure it’s completely dry. When it’s hot, get the first pita you rolled out and place it straight on the pan. Lower the heat slightly and as soon as you see any air bubbles forming in there, small ones, turn your pita to the other side. Give it a couple more minutes, and when it starts to puff up from one of the sides, turn it again. Do this once or twice more until the pita starts puffing up like a beautiful delicious balloon
- As soon as your pita is puffed up, it’s ready. Carefully transfer it into the box lined with towels, stack all pita’s inside and cover with the towels, allowing no steam to escape. This step is crucial for a soft fluffy pita!
- Keep the pita’s inside the towels until you’re ready to eat them or freeze while still warm.

Leave a Reply