Making sourdough bread always seemed like a distant dream that is too complex for me to invest time in. I mean, fresh bread is now easily available everywhere, and commiting to keeping a sourdough starter alive and pampering my own bread seemed like something I just don’t have time for.
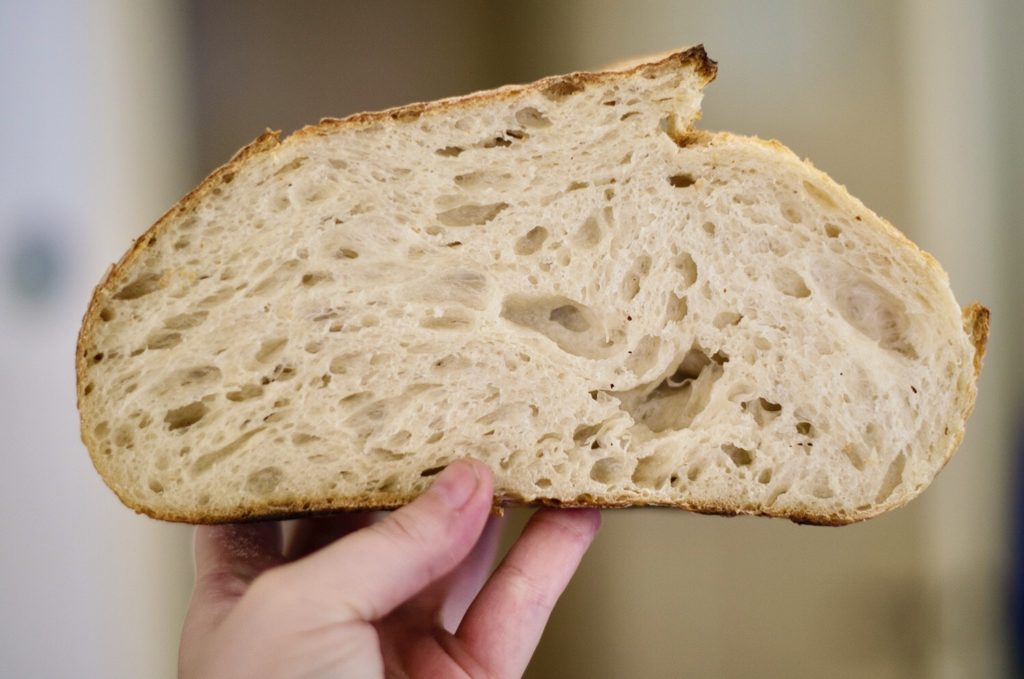
But the hunger for knowledge (and warm fresh bread) continued to chase me, until one day, on Amsterdam Cooks, I came across Andrea’s post who makes beautiful breads. I was following her instagram until I got the courage to text her and ask her to please teach me! She was very sweet and agreed, and together we decided that in return, I will also teach her something. And so we got together one weekend and learned how to make this begginers sourdough bread, my home made Challah bread and the notorious Lemon Meringue Pie. This also started the amazing tradition of knowledge exchange sessions, where people from the group meet with others and cook together, exchanging recipes and teaching each other new techniques.
Make your own sourdough bread at home
When the first loaf of sourdough that I made with Andrea came out of the oven, I knew this wasn’t like anything I can buy in a bakery. Yes, in a professional bakery the bread might be more complex, sophisticated or uniform. But the smell in the house, the look on my bread-addict-husband and the excitement in my heart was undeniable, this was the beginning of a wonderful new friendship with a colony of microorganisms.
Once you’ll get addicted, you’ll learn there are many different ways to make sourdough breads, there are so many recipes and methods out there. This is really a very very simple way to start, one that will teach you the basics and will allow you to later expand your knowledge even more, to achieve the perfect bread you love.
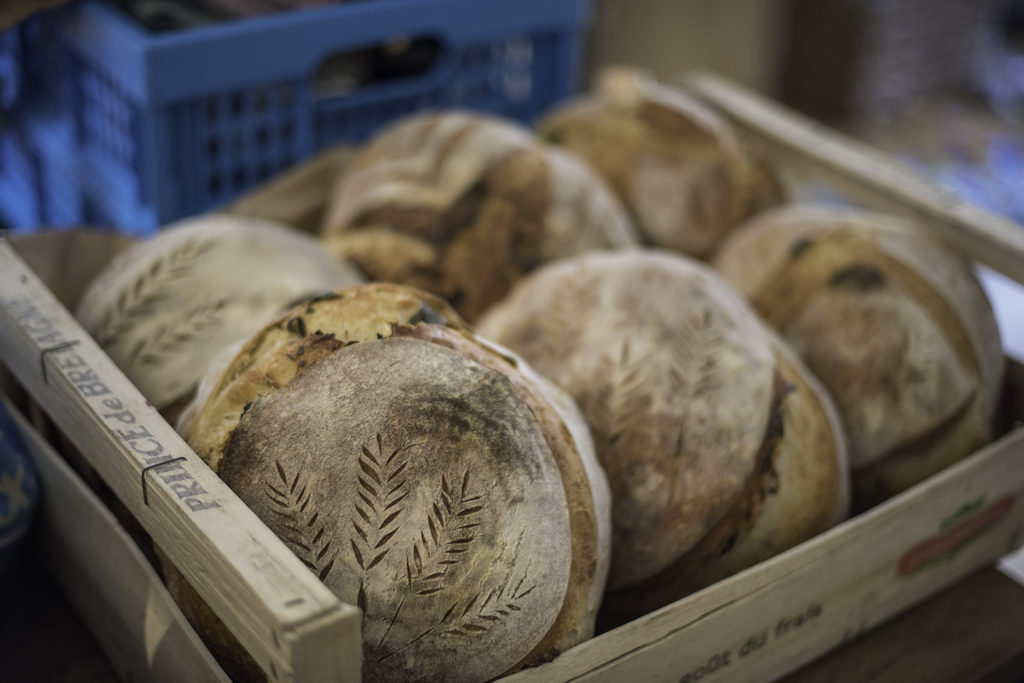
Sourdough Starter
To make sourdough bread you need a starter. This is a pre-fermented mixture of flour and water which is your natural yeast. In my case, I adopted a child of Andrea’s starter. If you know someone who makes sourdough, ask for a starter. You can also ask in related facebook groups or sourdough makers in your area (or if you’re ever around Amsterdam or Tel Aviv, just send me a message!). You can also make your own starter, there are a million recipes online. It takes a couple weeks of mixing flour and water, but eventually you will have your own little jar of strong starter that will kick off your naturally leavened breads.
What’s important to remember is to make sure your starter is active when you start making your bread, so feed it well in advance (even more than once) to make sure it’s doubled in size and full of litte bubbles and strings. I see a lot of recipes that feed it 100%, so equal amounts of flour on water. I like to feed it the following way, but please try different methods and see what your starter likes best:
- 30 grams starter
- 45 grams water
- 55 grams strong bread flour
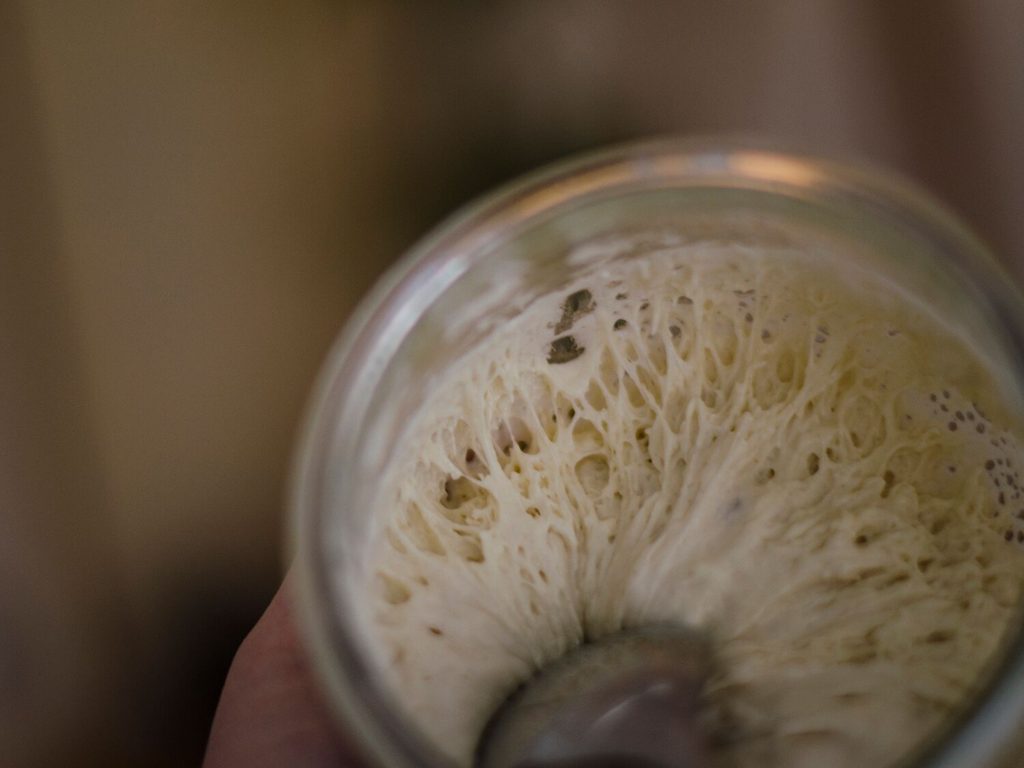
With an unfed starter, you need to start by feeding it in order to activate it. Feeding it means taking a small portion and adding water and flour, like in the measurements I mentioned here. Then waiting until it’s bubbly and doubled itself in volume, that’s when you know its activated. You normally only need a bit of the activated starter to make a loaf or two of bread, so you will always have leftover starter. The leftover you can keep and continue feeding so you always have an activate starter and can always bake bread with. But if you don’t bake everyday, that’s a lot of work and waste of flour for the feeding.
So I keep my starter when it’s unused in the fridge. The night before I want to bake I take the amount I need for feeding and feed it in a new jar, the rest I always keep in the fridge so I have it whenever I need. The starter is normally active within 8-12 hours, depending on your starter, flour, room temperature, if it’s straight out the fridge or if you’ve recently fed it, and if the sourdough gods are in a good mood today. The more times you feed it out of the fridge, the stronger your starter will be.
When you see it’s doubled itself and bubbly, you can do the float test which is taking a teaspoon heaped starter and gently dropping it in a glass with some water, if it doesn’t sink directly, the starter is active and you can mix your bread dough.
After your fed starter is active, you will only need a part of it for the bread, since it doubled itself in volume, you’ll have some active starter left. That is called “discard”, you can either throw it away or use it for more bread the same moment, or add it to the inactive starter waiting in your fridge so that will keep getting some feeding and not go completely bad. You can also use discard for various other bakes like crackers, cookies, pancakes, there are a million recipes out there if you search for sourdough discard recipes.
Choosing your flour
There are many different types of flours out there, with this beginner method I would reccomend for you to start with a strong white bread flour. At the end of this post you have some reccomendation on different ways to mix in different flours and ingredients, but this way you can start simple and work your way into more complex combinations.
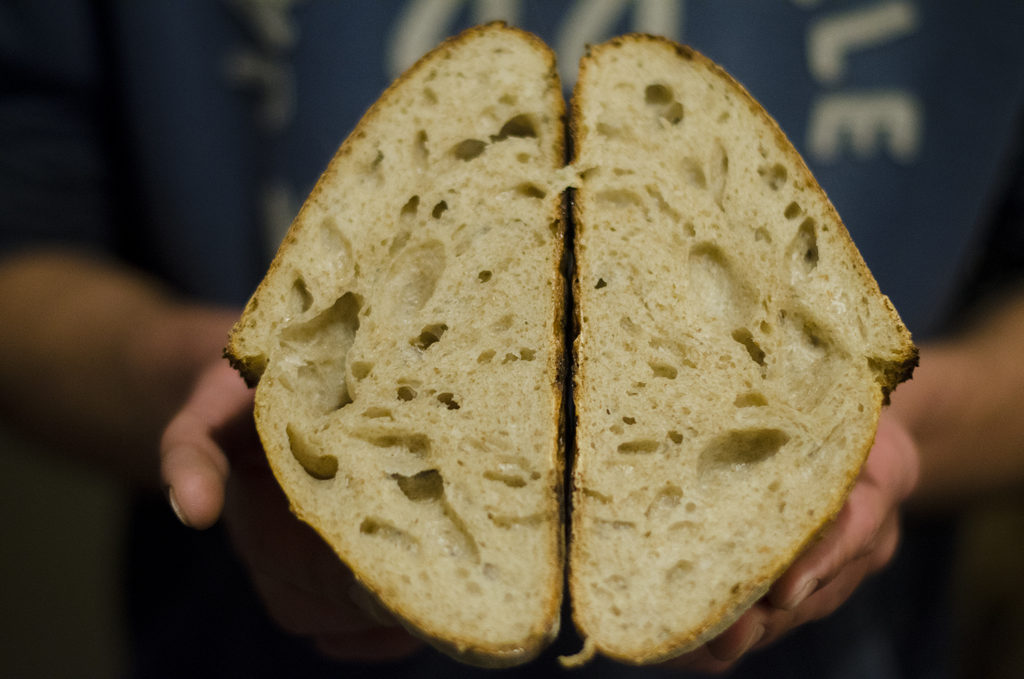
There are many different proteins found in wheat, which when hydrated, kneaded and fermented, create gluten. When you choose your flour, look at the back of the package and pick one that is high on protein, it will make it much easier to work with and the dough will be elastic and easy to handle. Gluten is part of what helps bread to increase in volume, raise into a beautiful bread and maintain its structure. As fermentation produces gas, gluten strands help to hold up the dough and trap the air inside the bread, giving you a beautiful crumb.
The more protein you have in your flour, the more gluten can be developed in your dough, so try to choose one that has atleast 12% protein in it.
Begginers Method
The method and recipe I am sharing here was given and taught to me by Andrea, it’s simple and perfect for beginners. I’ve been making it for quite some time now and as I go, I read more recipes, watch more videos and experiment with new methods or interesting combinations. If you are just begining your sourdough journey I would reccomend working with this recipe a while, getting your first few beautiful loaves and then venturing into new flours, special additions you like in your bread and different methods and hydration levels.
The recipe below is for a 61% hydration sourdough bread. This reflects the ratio of water and flour. I think this is an excellent place to start, however increasing hydration levels can bring you many other wonderful results, and it is also sometimes necessary when working with different types of flours. You can use this handy calculator to determine your hydration level.
This is my basic recipe for a good size loaf:
- 590g flour
- 23g starter
- 360g water
- 15g salt
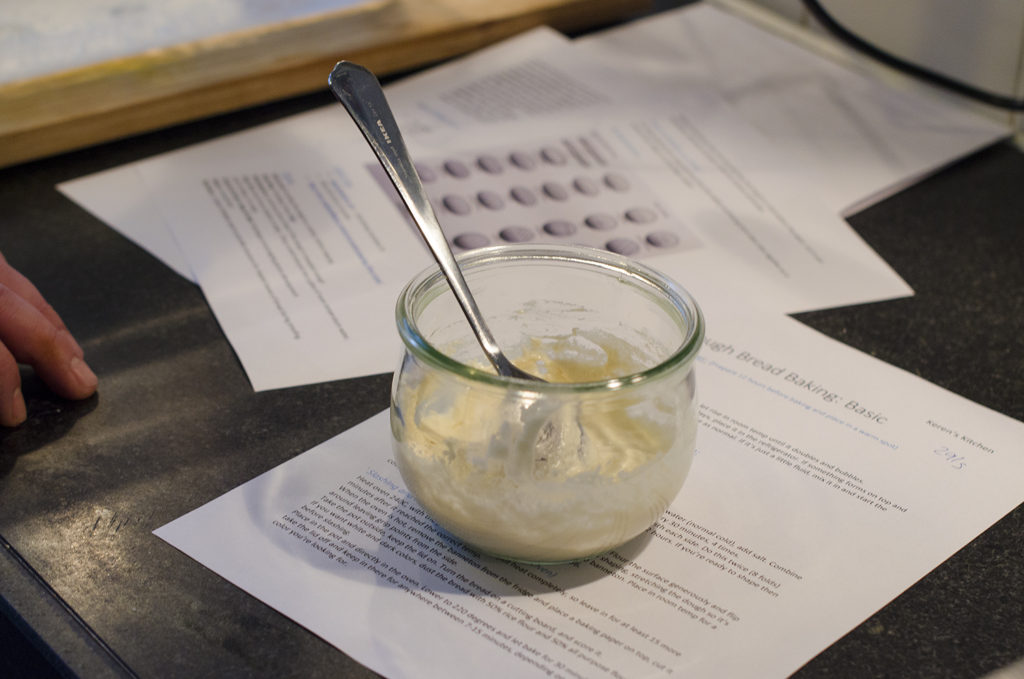
Flour, Water, Salt
Use a scale to measure your ingredients, this is important because any variation has an effect on your end result. Start by adding your starter, water, flour and salt together. Some methods reccomend using Autolyse, this means mixing the flour and water and allowing the dough to rest before addind the starter and salt, with different grains this results in a more flexible dough, higher rise and improved texture and taste. But in this case, we are just starting off and mixing everything together. Don’t worry, you will still get an incredible bread! Just measure the ingredients in one bowl and mix with your hand a bit until the dough comes together nicely and there are no pieces of flour or dough stuck to the bowl, it should take only a minute or two.
Stretch & Fold
After your intial mix, let the dough rest for 30-40 minutes and then start 4-5 times your Stretch and Folds. This means grabbing a piece of dough and stretching it slighlty, then folding it on top of the dough. You are basically giving the dough some movement to allow the gluten to develop. Do this every 30-40 minutes until your dough can strecth nicely. Here’s a video I found online of how it’s done, I do a few more streches than showed here, until I feel the dough is firm and not stretachable anymore. Then I let it rest and repeat again. The network of gluten will continue to develop, gradually becoming stronger and more complex, up until the dough is strong and ready to be proofed.
Window Pane Test
Before the dough goes to rest, I like to perform a little test to see the gluten is fully developed, because when the gluten network is strong enough, the dough can be proofed and shaped. I first check if the dough is ready by performing the windowpane test by stretching a portion of dough. A well-developed dough can be stretched so thin that it’s translucent. Here’s a video of one of my favorite bread youtubers that shows how to perform the test, check out his other videos too when you have time!
Cover and Rest
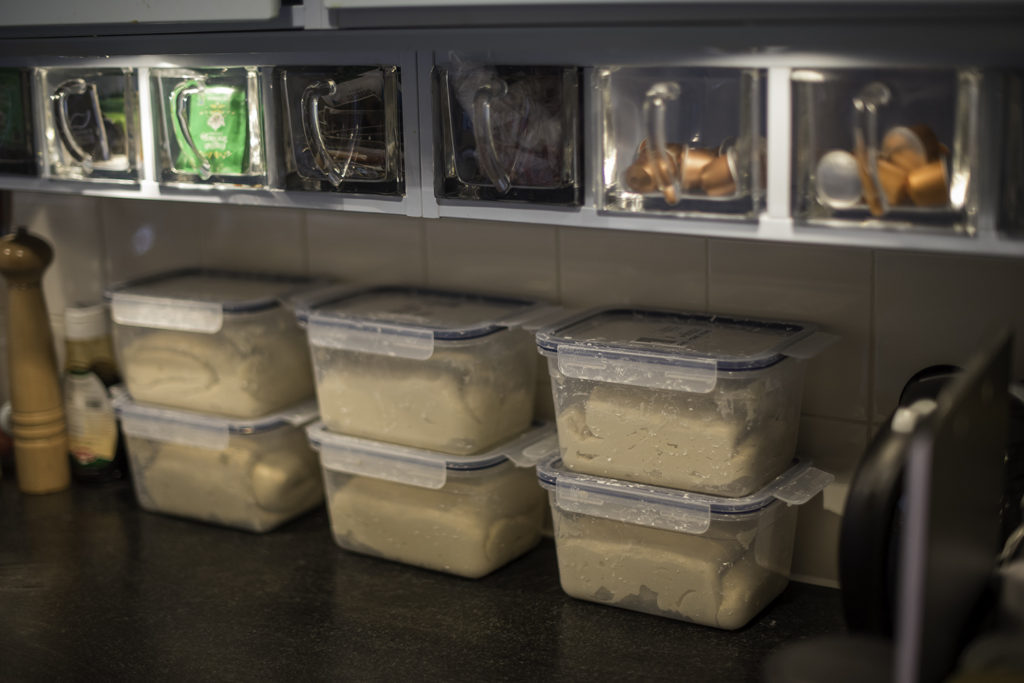
It’s important to keep your dough well covered when it’s resting at all times, so it won’t dry up. You can do this using a plastic container with a lid, a plastic bag, or even a shower cap (which is my favorite method). After you’ve done your stretch and folds, it’s time to let the dough rest and ferment before shaping. The resting time allows the enzymes time to rest and the dough to ferment and grow stronger as more and more molecules stick together. This strong dough will allow gas bubbles to stay inside, the gluten makes the dough elastic enough that the bubble walls can expand like a little balloon without tearing up, resulting eventually in a beautiful crumb, with great texture and lovely fermneted taste.
How long should it rest? At this stage I like to give it 6-8 hours. But this depends a lot of how warm your room is. When I make it in the winter I try to place it in a warmer room, but when it’s summer and warm, I am very careful not to let it over proof, or else you’ll be getting a big sourdough pita loaf, which is too dense to enjoy. Try to aim for a room that is around 24 °C / 75 °F . If it’s a bit colder, let is sit longer. If it’s a bit warmer, let it proof for less time. Experiment and slowly get to know the best way that works for you in your own environment.
Shape and Cool
Once your dough has rested, shape your loaf. The best method for this begginers guide, would be to shape a Boule, which is a round bread loaf. There are so many methods of shaping a round loaf, but eventually the most important thing is to be gentle, yet not afraid. On the one hand, you want the bread to be shaped firmly, to allow the bread to rise and bake beautifully when placed in the oven. At the same time, you want to be very careful not to punch all the bubbles out which are trapped inside. Here’s is a very simple guide on how to shape. But I reccomend you to search google and see a few video’s you like. Then, practise practise practise.
Once your loaf is shaped, place it in a Banneton proofing basket. You can get a professional one like this one, but I like to use a simple bowl with a thin tea towel. Just chose a bowl that is not too small, and that will leave some space for the dough to proof, so about 1.5 the size (or bigger) of your shaped loaf. Use some rice flour to dust the towel and place it in the bowl, this will make sure your dough doesn’t stick to the bowl. Then carefully transfer your shaped bread upside down in the bowl and cover well with a shower cap or bag. Place it in your fridge for the night, this will allow the dough to proof slowly and develop and lovely tangy taste. The cold dough will also help your bread retain the water for longer when baking and makes it all easier to handle.
Score and Bake
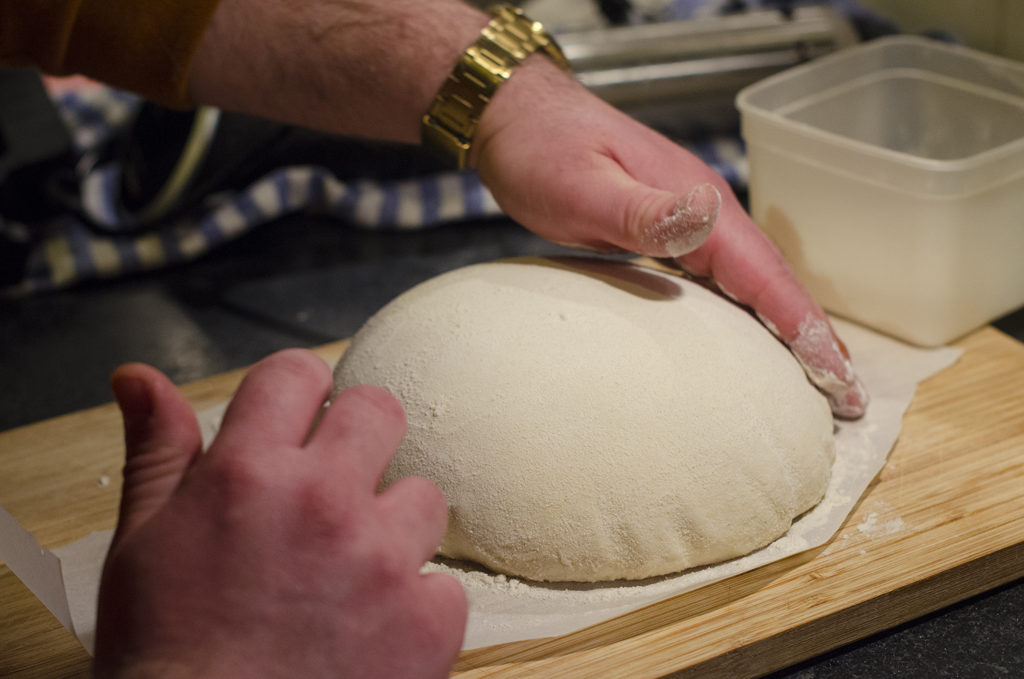
Once your dough had time to reflect in the fridge, it’s finally time to get baking! First, place a large heavy pot (dutch oven) in your oven and heat the oven, pot and lid inside, on 240 °C / 460 °F . Let the pot get very warm, I like to let it heat up for an hour before placing my bread inside. This baking method locks all the steam inside the pot and gives great heat from all sides allowing the bread to rise high and bake equally.
Once your oven and pot are very warm, take your dough out of the fridge. If you like, you can sprinkle a bit of thin corn flour (like the one you use for polenta) on the bottom of the loaf which is now facing upwards, this gives it a crunchy bottom. But totally not necessary!
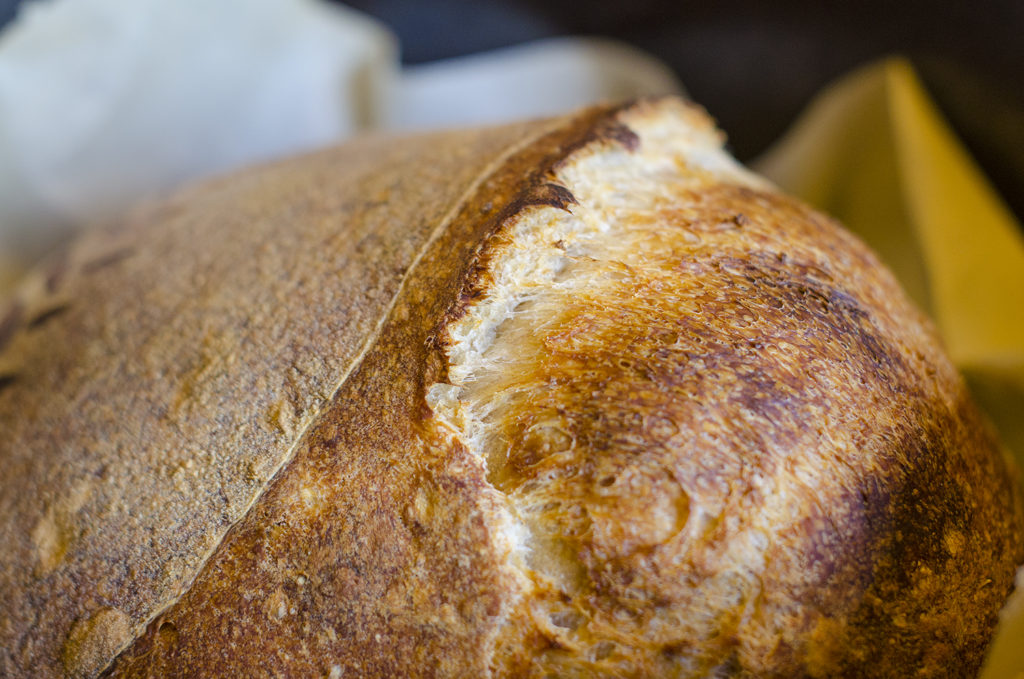
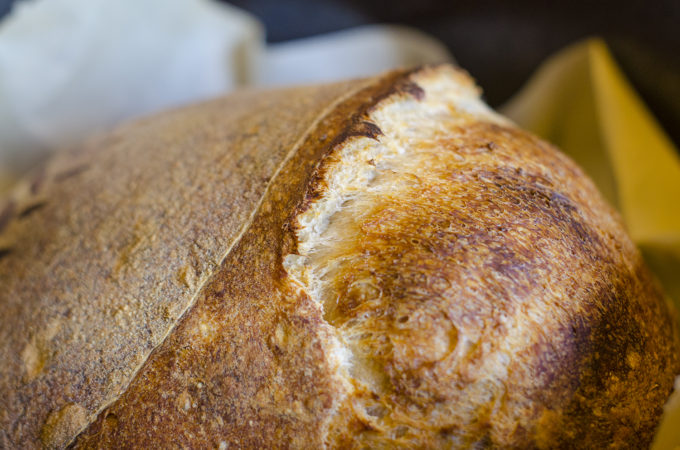
Next, take a baking paper and place it on top of the bowl, cut a watch like shape out of it, which makes sure you have handles to place the bread in the pot, but also covers the bottom of the loaf so it won’t stick to the pot. Then, on top of that, place a cutting board and flip the bread out, and remove the bowl and towl. Now the top if your beautiful boule is facing upwards and you can score it using a very sharp Lame, which is basically a razor blade. Scoring is done intentionally to create a weak spot on the surface of the loaf, this prevents the loaf from bursting at random places and gives you control on how it will rise during the oven spring. The angle at which you score and the depth of the cuts influences the type of expansion and the formation of an “ear” – a raised flap of crust at the edge of a cut.
There are many ways to score your bread, and if you look around on instragram you can find some very complex scoring methods that are beautiful and very artistics! I like to start with a simple score on the side of the round loaf, with a 45 degree angle and about 1cm deep. But you can also get fancy.
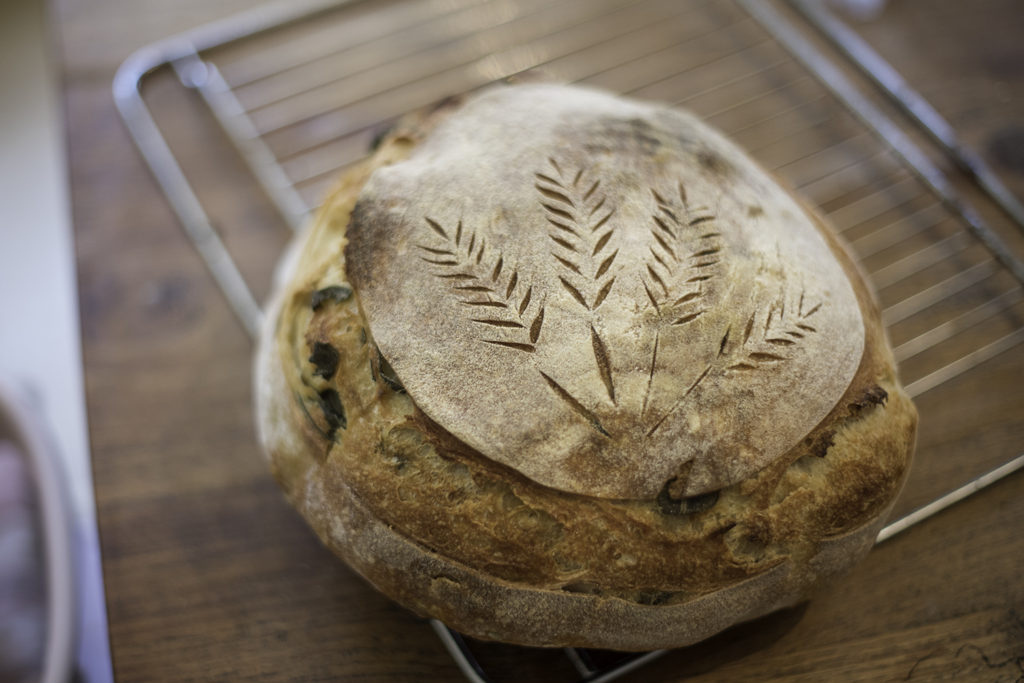
Once you’ve scored your bread, take the pot out of the oven and place the bread in it. You can add a bit of boiling water on the side, under the baking paper if you like, and then close the lid immediately, make sure it’s tightley closed. The water adds some steam to the bake and helps with the “oven spring”, which is the rise of the bread, but it’s not necesary, most times I do without, but if you feel your spring needs some help, this is a good way.
Place the pot back in the oven and lower the temperature to 220 °C / 430 °F Leave it in for 30 minutes and then remove the lid, then give it 10 more minutes without the lid to get a nice golden color and firm crust.
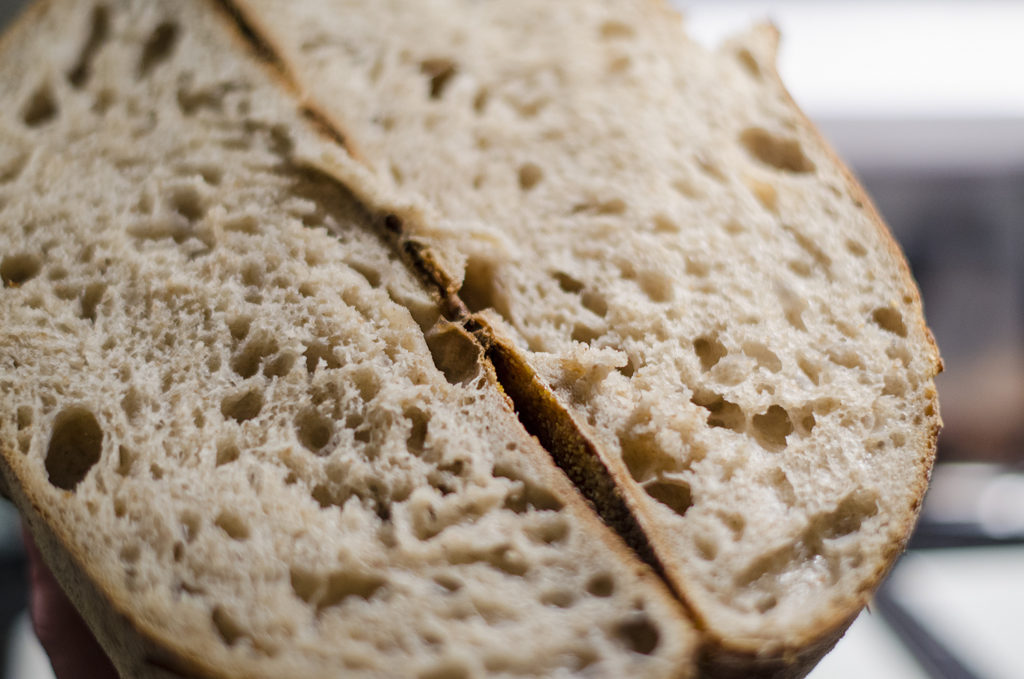
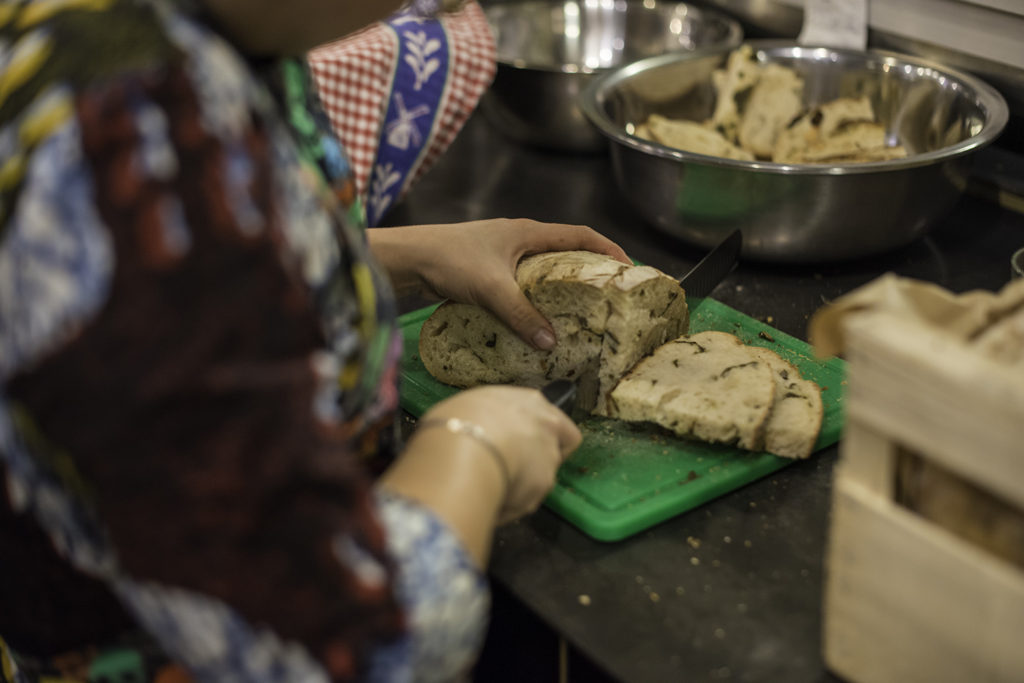
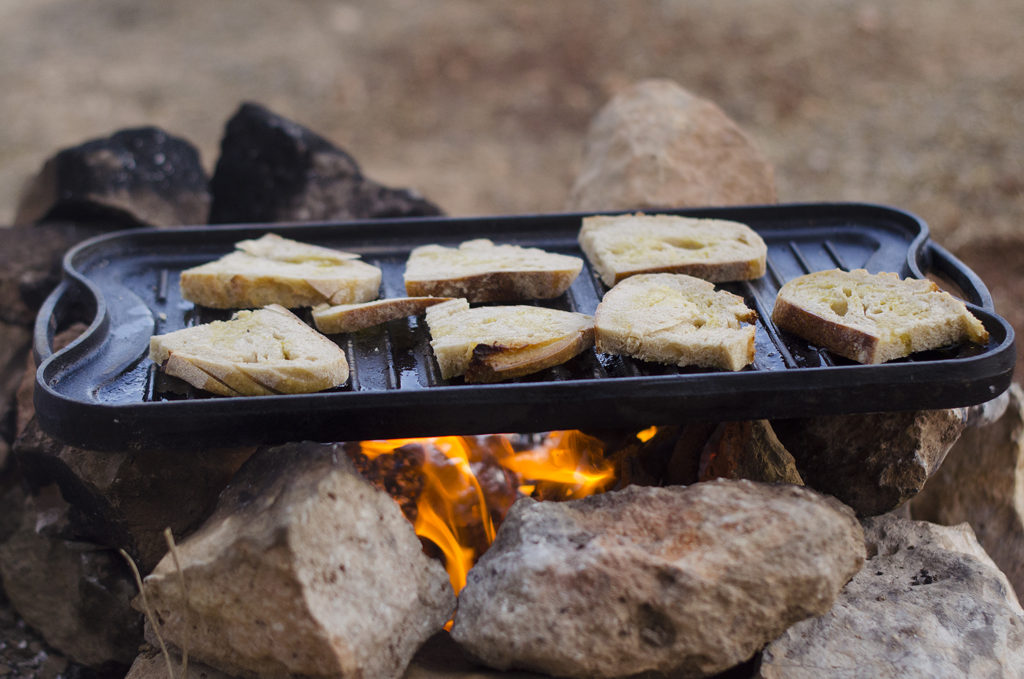
Remove your bread and let it cool atleast until you can easily handle it. Then slice and enjoy!
Some useful terms
- Activation: Creating a lively, vibrant sourdough starter
- Autolyse: Mixing water and flour first, then adding the rest of the ingredients
- Banneton: a type of basket used to provide structure for shaped loaves of bread during proofing.
- Bulk proof/ferment: The first step of fermentation, takes place at room temperature for a period of 4-12 hours.
- Boule: A round loaf
- Crumb: The interior texture of the bread after baking
- Gluten: A mixture of two proteins found in grains such as wheat, rye, barley, spelt, and einkorn. Gluten gives breads their elasticity, trapping carbon dioxide that makes the bread fluffy and light
- Retarding: Proofing in the fridge
- Windowpane: a test you do to check if the dough in kneaded enough by stretching the dough widely
- Float Test: test if your starter is ready. Drop a small amount into a glass of room temperature water, and if it floats, it’s ready
- Stretch & Fold or Slap & Fold: Technique encouraging gluten development
- Scoring / Slashing: To cut the surface of the loaf prior to baking. This provides for controlled expansion of the loaves during baking so they do not “break” undesirably.
- Dutch Oven: Baking in a heavy pot
- Preshape: shaping once before the final shape
- Oven Spring: The final burst of rising just after a loaf is put in the oven and before the crust hardens
- Scraper: What you use to scrape dough from the bench
- Ear: The result of scoring the top of the bread, which, when baked, produces lifted pieces of crisp crust that look like ears and make for an attractive appearance
- Discard: Unfed starter
- Levain: Starter / Sourdough
- Hydration: The ratio of liquid ingredients (primarily water) to flour in the dough. A dough with 500g of flour and 310g of water has a hydration of 62% (310/500).
- Lame: A double-sided blade used to slash the tops of bread loaves in artisan baking.
- Resting: A common step in bread baking, often occurring directly after a kneading or shaping of the dough. A rest period allows the gluten in the dough to relax before a final shaping
Some interesting next steps to consider while learning
In this post we reviewed a very basic recipe, something simple to start with, feel the dough, get the basic and get your confidence built up. I worked with this recipe for over a year before starting to try other amazing recipes that are out there. But during this time, occassionaly, I tried to integrate some new things in the same recipe, to continue to learn more things and to not get too bored 🙂 Here are some ideas:
- Pre-shaping: Pre-shaping is all about giving your dough a heads-up about what shape it’s going to be later, and giving the gluten a little time to get situated. To pre-shape, we’re going to perform a series of folds similar to what we did during the bulk rise. We want to do this in as few motions as possible, making those motions decisive and clean, without being aggressive. Once you’ve folded your dough into a neat little package, gently flip it over with your bench knife to let the smooth side face you. Most important here, is to not over-think this. Just try to get some tension on the surface of the loaf. If we mess with it too much now we’re just going to push our hard-earned gas out of it. Pre-shapes—like rehearsals—aren’t meant to be perfect. Lightly flour the tops of the rounds and cover with a towel.
- Autolyse: An autolyse is the gentle mixing of the flour and water in a bread recipe, followed by a 20 to 60 minute rest period. After the rest, the remaining ingredients are added and kneading begins. This is due to the complex relationship between salt and live bacteria. Salt has been used as a preservative for food for millennia since it has effective antiseptic properties; however, bacteria has amazing adaptive abilities. It can actually learn to coexist with salt and continue to ferment. With bread dough, it is best to give the sourdough starter a bit of a “head start” on breaking down the complex starches and proteins in the flour and grains before salt is introduced. This resting period between the initial mixing process and the addition of the salt is known as the “autolyse” period. Letting the starter work on the dough before adding the salt will help produce a better rise and a more complex flavor in the finished loaf.
- Changing up flours: You can try adding 100g Spelt flour and reduce the whole wheat to 490g, or mix in other types of flours and combinations
- Adding nuts, grains, seeds, dried fruit, spices, herbs: It’s important to soak nuts and seeds 6-12 hours prior to adding them, so they won’t absorb water from the dough. I add the additions during the 2nd or 3rd fold, but you can also use a lamination method where you open the dough completely on your bench, add the toppings and fold it together. Then continue to stretch and fold normally. This allows for a more equal distribution
- Lamination: When you incorporate spices, nuts, herbs or anything in your bread, it is always a good idea to do this while you are laminating. But also, this steps helps creating a more open crumb. It’s basically a step I do after atleast 4 normal Stretch & Folds. Laminating is done by stretching your dough on your counter to open it to a big rectangle and then folding it together. If your dough is strong enough, it will not rip. See a video on how to here.
- Coil stretch and fold: Sometimes I try to increase my hydration level and then the dough is very loose. Also after lamination, I’d like to work the dough differently so things stay nicely put, but I can still continue to work the gluten. Try to use the coild strech and fold method, which is very gentle on the dough yet develops very nice strength. See a video on how to here.
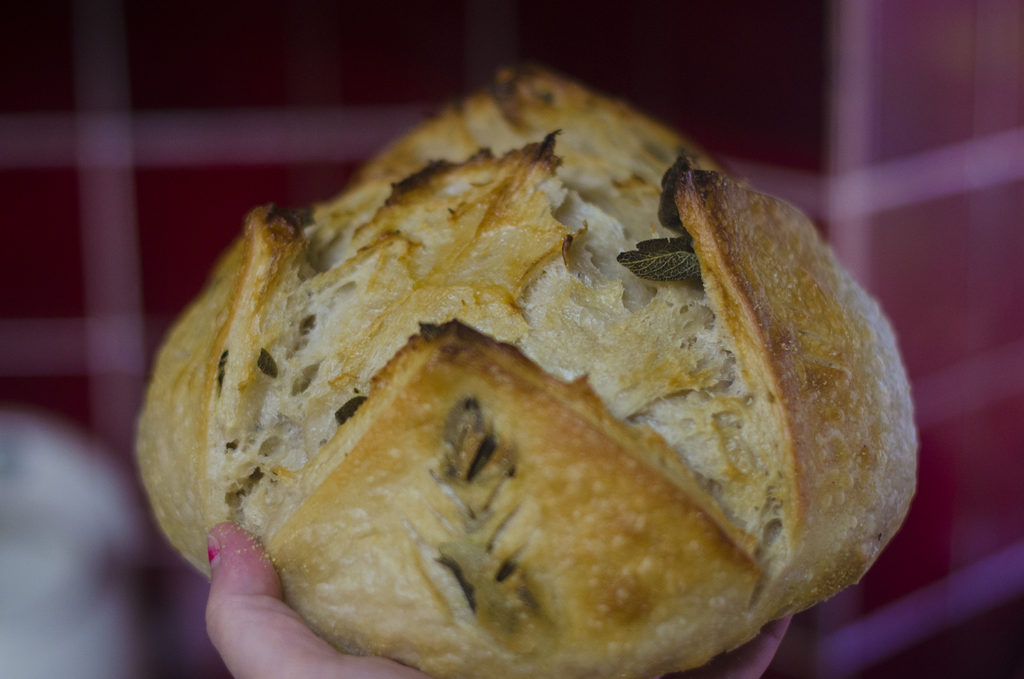
I really want to see your bread! Please take a picture and tag me on Instagram @kerenruben or Facebook Keren’s Kitchen and let me know how you liked it!


Leave a Reply